


There’s a lot that goes into a move, and sometimes your current vehicle simply might not be large enough for your belongings. If you need to mount a trailer hitch, make sure you do it correctly for safety and for your general peace of mind. Read up on a few tips for knowing how to hook up your trailer hitch to get your move on the move.
Connecting
Depending on the trailer, you might have to back up to it before starting the mounting process; it’s best you have someone help you with this step. When backing up, take things slow, and ensure your spotter is clearly visible in the driver’s side mirror. As the spotter offers direction, it’s better that he or she tells you the direction in which the rear of the vehicle should go rather than the direction in which you should turn the steering wheel.
Mounting
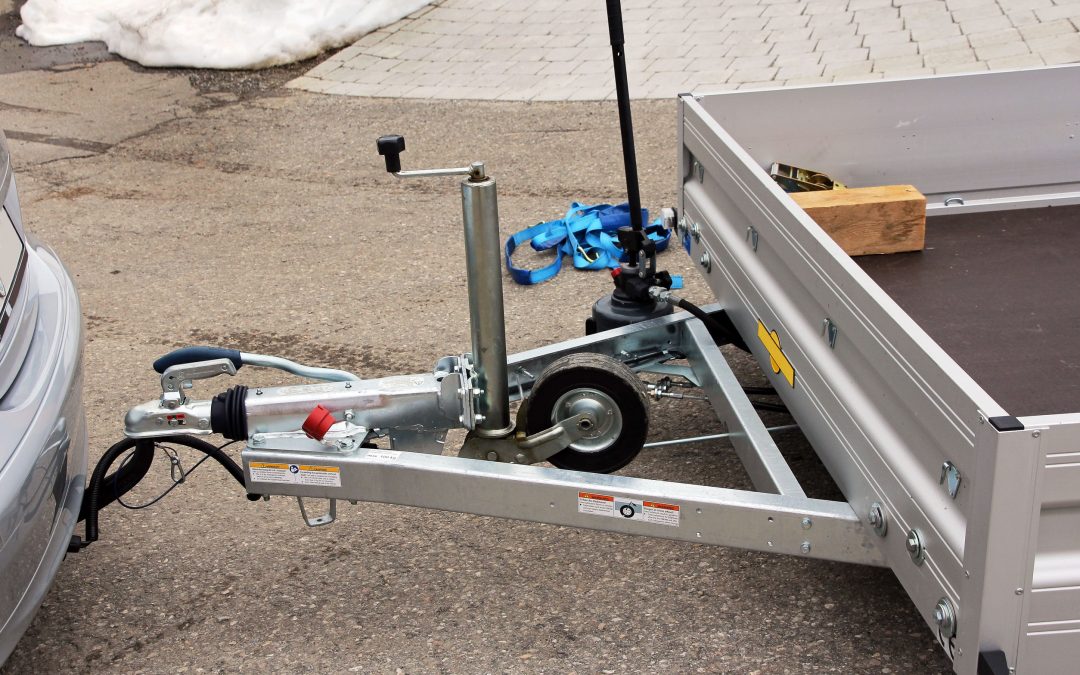
Once the hitch’s trailer ball is positioned beneath the coupler, carefully bring the coupler down on the ball, making sure the trailer is lifted with either a floor jack or the built-in jack before dropping the coupler. Be sure you check that the coupler is in the open position so the clamps don’t jam up. When the coupler is on the ball, reach down for a feel to see that the clamp has a good grip on the ball.
Hooking
Once the coupler and ball are connected, you’re ready to actually hook up the hitch. See that the release latch and coupler clamp are hooked up, using either a lock or coupler pin to stabilize the coupler in the locked position. You should also take a look to see that the hitch pin secures the ball mount to the hitch receiver. Next, link the safety chains from the hitch tabs to the trailer, securing them just underneath the trailer coupler. Plug in the trailer light harness to your vehicle’s connector and check to see that the reserve, turn signal and brake lights are all operating properly.
For additional assistance, reach out to us here at Attention to Detail Moving.